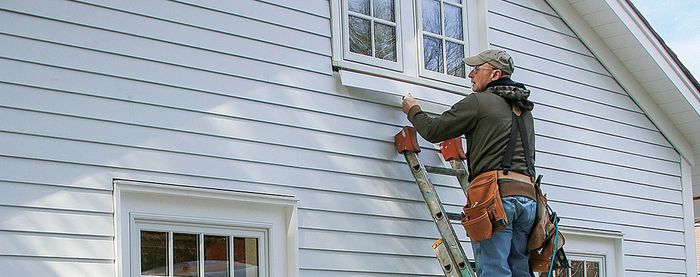
Trimming the Roofline
Clean lines and durable details depend on careful framing and a systematic installation sequence.
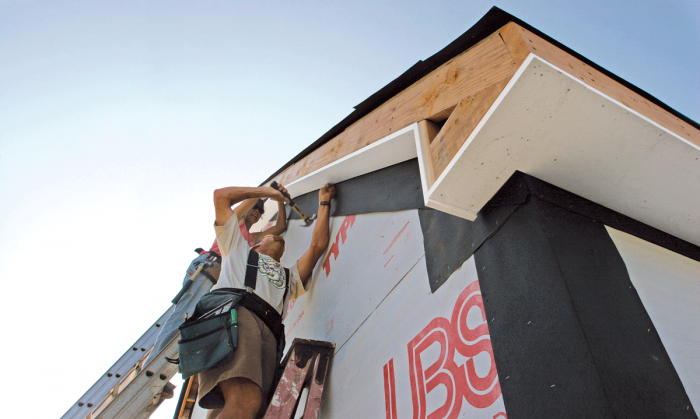
Synopsis: Trimming a roofline can be done minimally, but Rhode Island builder John Spier prefers to go an extra step by using larger overhangs, elegant returns, and other exterior-trim details to make a house (or even an outbuilding) more attractive. To make sure that the trimwork will last, Spier makes sure that the framing is solid, and not bowed or out of square. He also adds detailing such as felt paper or peel-and-stick flashing to prevent water from getting behind trim or siding. He also builds the trim elements to prevent water infiltration. Spier dresses up corners by using box returns with flush fascias, tight miter joints, and a double rake detail. This article includes sidebars on why Spier prefers to nail by hand rather than use a framing nailer, and also his thoughts on the right places to use PVC trim.
I once took a prospective client to see two almost identical houses, one with economically minimalist trim and the other dressed up a bit with larger overhangs, elegant returns, and other exterior-trim details. I had to show her the plans and take out my tape measure to convince her that she wasn’t looking at two very different houses. Needless to say, she invested more of her limited budget in exterior trim, and that decision paid off in an attractive small house.
The detached garage shown here is a similar example. No one will live in or even live next door to this utilitarian structure, but it sits in a beautiful neighborhood and doesn’t deserve to be ugly. I dressed up the rooflines with simple, inexpensive 1x and 5/4 trim stock, Azek (www.azek.com) in this case.
Exterior trim isn’t quite as fussy as interior finish work, but on the other hand, it has to withstand weather extremes, shed water, and look good. Success is a combination of good design and attention to detail.
Good roof trim starts with the framing behind it
I frame the buildings that I trim, so the only person I can blame for a poor framing job is me. To help the trim installation run smoothly, I cut rafter tails carefully, add blocking where necessary, and use solid, straight material when framing subfascias and barge rafters. Finish carpenters who show up long after a subpar framing job is complete aren’t as lucky. It’s tough to make trim look good when the framing is bowed or twisted. Even though I’ve framed the building, I still check for problems and correct anything bowed or out of square before installing trim. I also like to incorporate extra waterproofing anywhere that water could get behind the trim or siding.
Set up shop, and get organized
Before I start trimming the roof, I set up my tools close to the pile of trim stock but far enough out of the way to give me space to slide and swing long boards. my favorite places to set up are in an upstairs with no interior walls or in a large attached garage, but outside is fine, too. For basic trim, I need only a sliding miter saw, a tablesaw, and a few handheld power tools. For staging, it’s nice to have planks at a good working height below the eaves; on tall gable ends, pump jacks or house brackets are good options. On a small building such as this one, an assortment of ladders is just as quick and easy. The ideal trim crew is three people, one to cut and two to measure and install. If speed isn’t crucial, two can do it, and I’ve hung plenty of trim alone, using simple site-built jigs to support the long end of the boards.
Work from the bottom up
Old-timers love to say “Think like a raindrop,” and I do this by starting at the bottom and working up so that each trim element sheds water over the previous one. I trim the eave soffits first, working from one return to the other, then moving up the rake soffits. Next, I install rake boards and finally fascias. I always make the hard cuts and hang the longest pieces first, then cut and fit the shorter pieces.
For more photos, drawings, and details, click the View PDF button below.
Fine Homebuilding Recommended Products
Shingle Ripper
Flashing Boot Repair
Roof Jacks
