Installing a Railing Cap
Dress up a railing with a mitered custom cap secured with top-down fasteners.
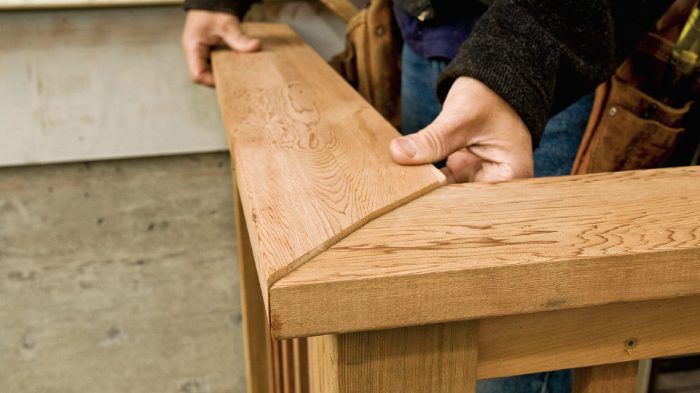
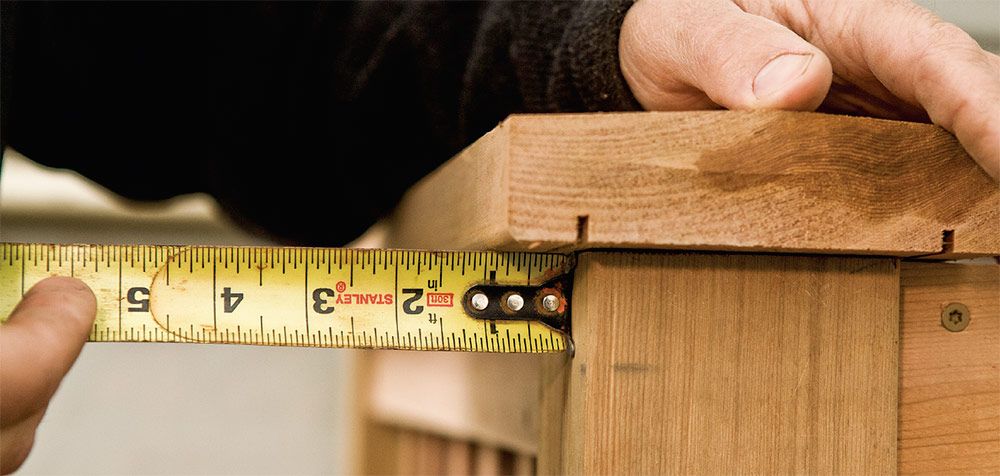
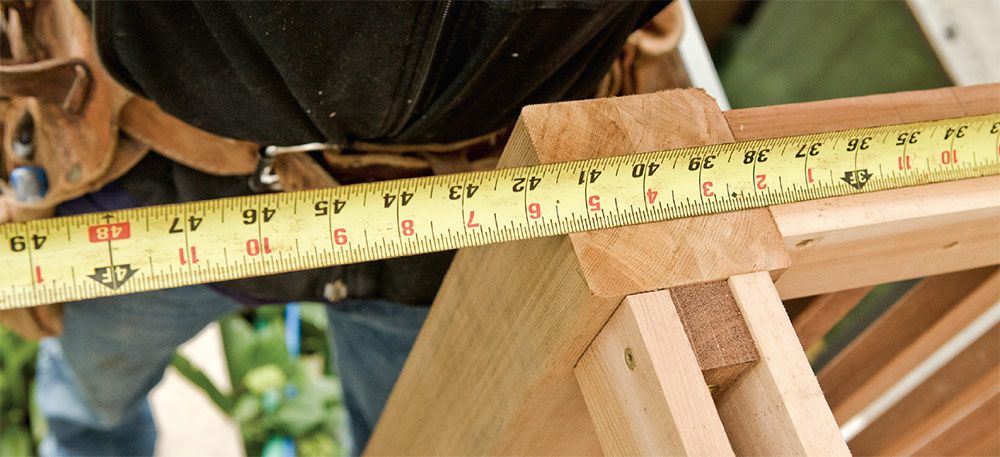
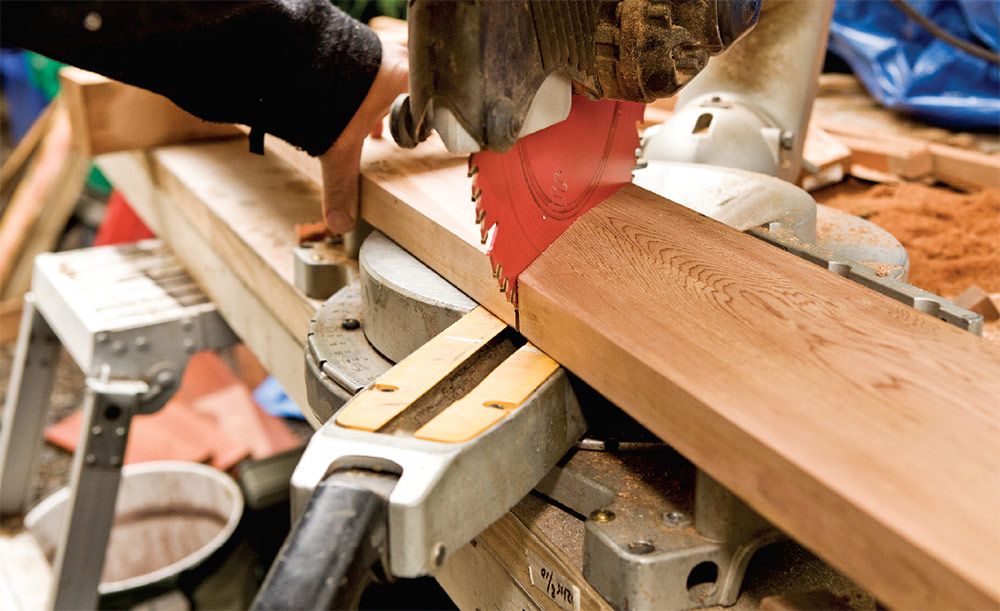
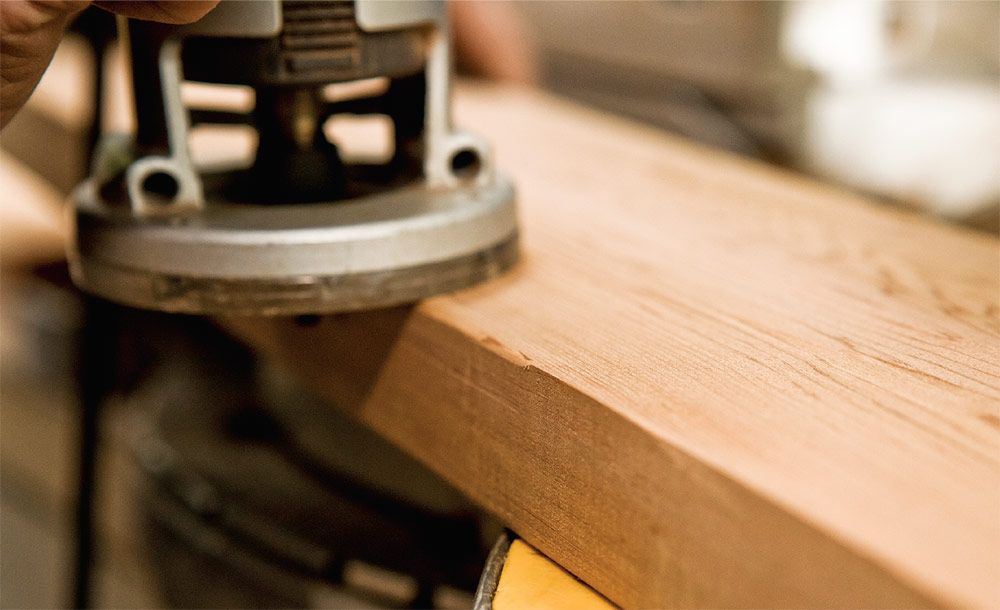
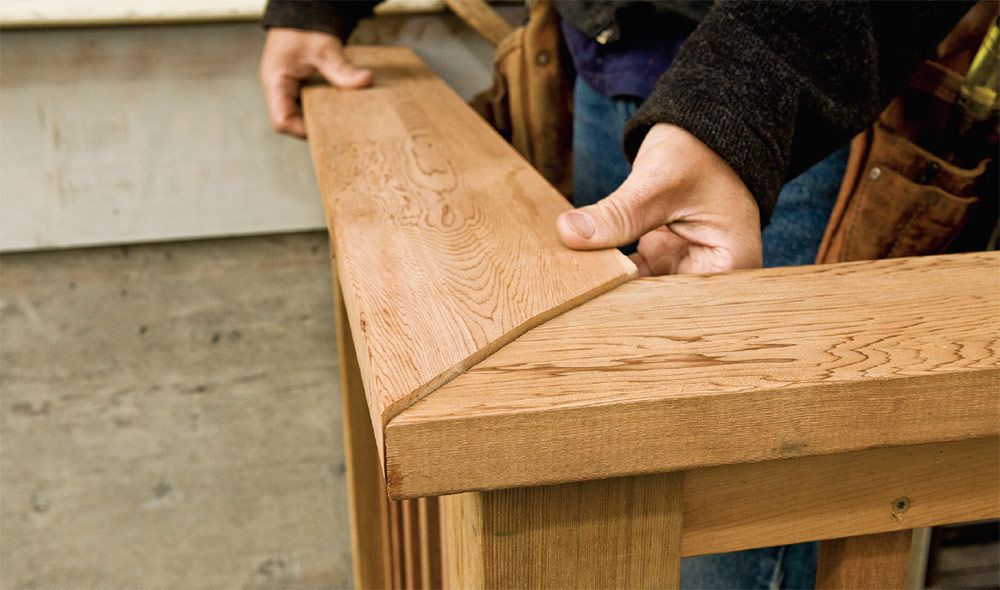
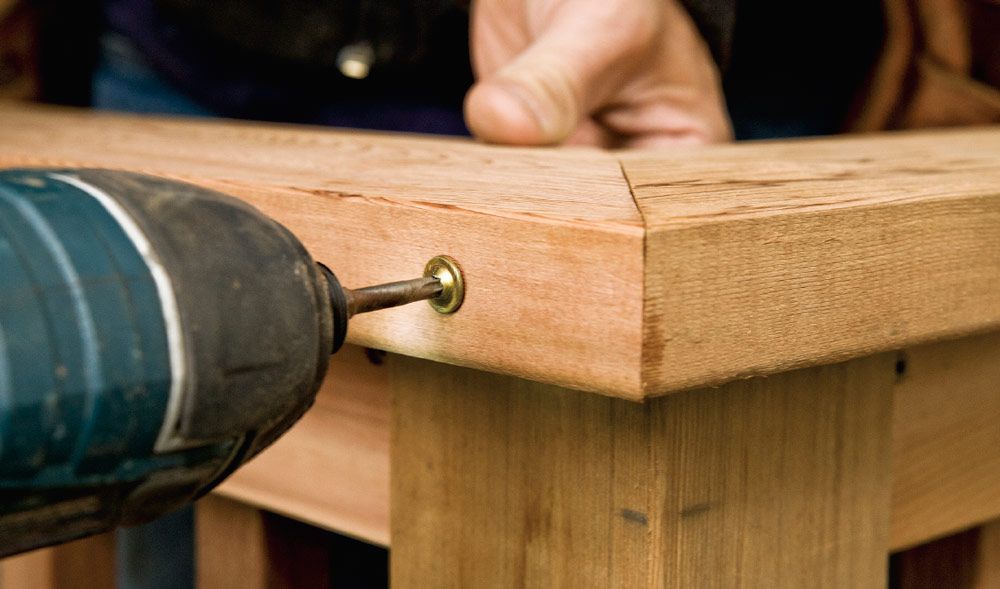
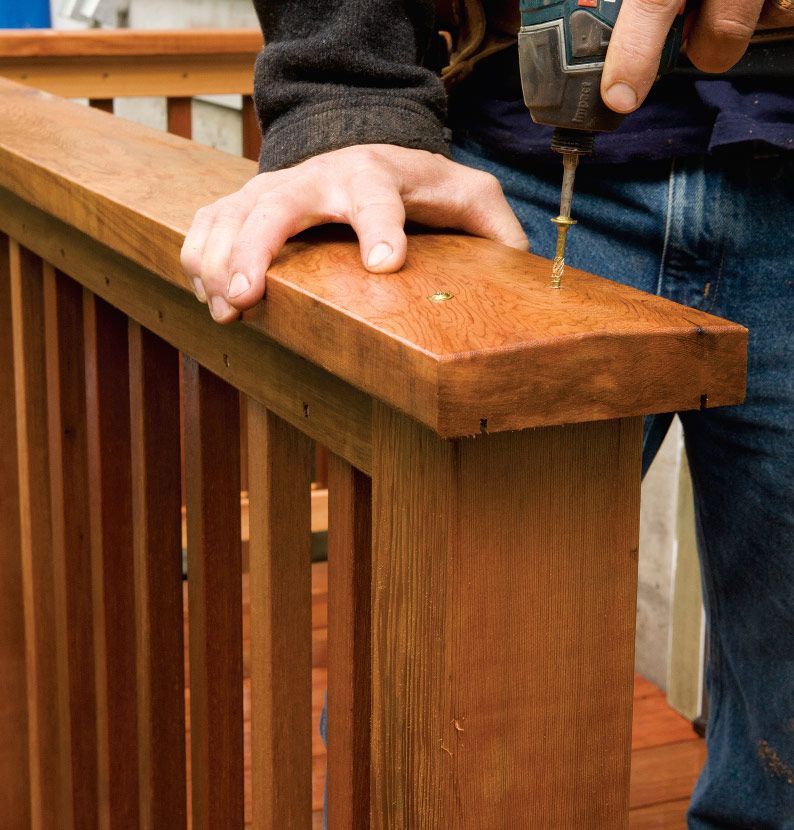
A railing cap installation is a fairly straightforward process. For the cap shown here, we used a typical top-down fastener. The challenge for this installation was at the corners. Because we beveled the top, the corner joint needed to be mitered. To make a mitered joint in the cap, first set the outside overhang, in this case 1 in. (see photos, below). Measure one length of the cap and add the overhang to get the distance to the long point of the miter. For example, if the cap length is 41-1/8 in. and the overhang is 1 in., make the piece 42-1/8 in. from one end to the long point of the miter. Before installing the cap, round over any sharp edges with the trim router. Cut both legs of the cap and then fit the miter first. To secure the miter, drive a 3-1/2-in. screw from the side. After the miter is set, secure the rest of the cap rail with top-down screws into the posts.


 Make a Custom Railing Cap
Trying to buy railing cap can be frustrating. Often what you find is expensive or of poor quality, and if you do find something you like, it’s often on back order. Fortunately, if you have a typical bench planer, a simple jig lets you make a custom railing cap out of standard 2x decking stock.
The jig consists of an auxiliary base of white shelving stock, a guide stop to hold the cap stock in place (seen here on the right fastened to the top of the auxiliary base), and a lift block to raise the auxiliary base to sit at an angle. To fashion the cap, simply plane the board to the centerline oriented from both directions.

Fine Homebuilding Recommended Products
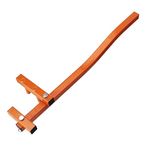
Cepco BoWrench Decking Tool
MicroFoam Nitrile Coated Work Gloves
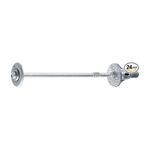
FastenMaster Screw Bolt Fastening System

