Building Wraparound Box-Frame Stairs on a Deck
This framing method is an attractive alternative to cutting stringers.
Sponsored by Trex®

In this video, builder Mike Guertin teaches his preferred method for framing wraparound stairs: box-frame construction. He also details the processes of notching footings and installing joists with hangers, and he stresses the importance of using Trex® Protect Joist, Beam, and Rim Tape to prevent metal-wood contact. Finally, Mike shares the benefits of double-blocking corners so water and debris can pass through, reducing the risk of mold.

Here’s the Transcript:
The conventional way of doing stairs is to cut stringers. But when you’re doing wraparound stairs, there are some problems with stringers. Number one, we need a continuous footing of concrete all the way around in order for those stringers to rest on. And number two, we have to cut all of those stringers absolutely perfect. In fact, the footing has to be absolutely perfect too.
Otherwise, if one stringer is a little high or a little low, you’ll see the waves of those high or low stringers in the finished deck boards. On top of that, because we’re using the Trex® decking as our tread material, they require that the stringers be spaced no more than 12 in. on center. So we’d end up needing probably about 16 or 17 stringers to go all the way around. Plus, we’d have to frame out the diagonal stringer that goes out at the corner.

Stringer Alternative
The alternative is to build box-frame deck stairs. It’s going to be much easier to do the corner and much easier to frame out. Basically, it’s a mini deck—long and thin, just with joists in between. With the box stairs, we need to notch out the footings that are high by like ¼ to ⅜ of an inch.
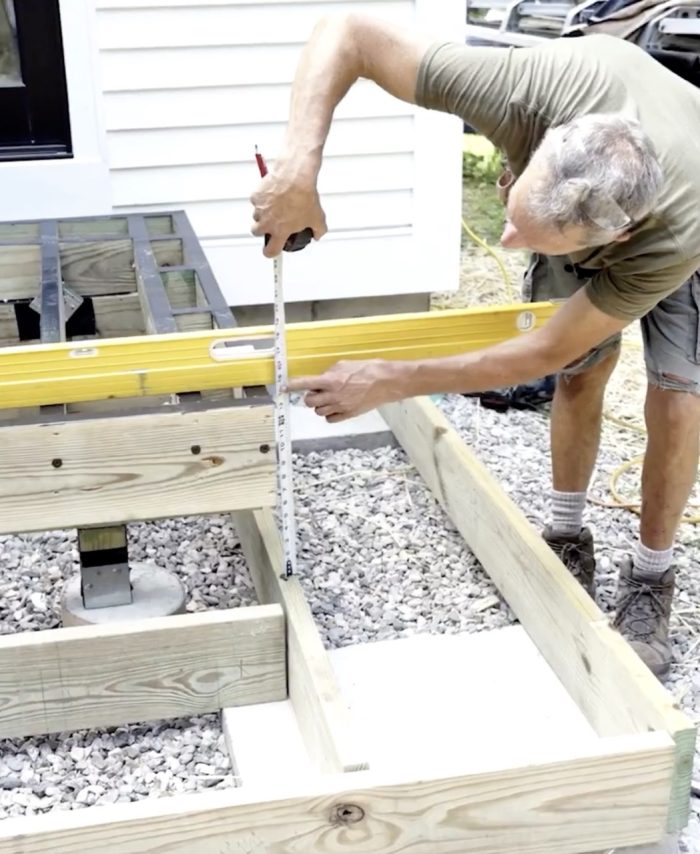
We need to get those notched only at the locations where the header boards for the boxes span over the top of the footings. The easiest way to do that is once we have the deck frame done, we can use the deck frame as our reference, and then measure down from the top to figure out how much of a notch we need to make.
I already know from my calculations how high the top of that box needs to be in relation to the top of the deck surface in order to get evenly spaced height steps. When I check this, I see that I need to trim off ⅜ of an inch from the bottom there. Over here, it’s the same; it’s a strong ⅜. I can check over at this footing to see if I need to do any adjustments.
When I check this, I only need like ¹⁄₁₆ of an inch. Over here, I need like ⅛ of an inch. I can use my pencil and drag it across the top of the footing, and that will give me the ⅛-in. space. I have a piece of scrap wood that is just a little over ¼ of an inch thick, and along with the pencil line, that will get me up to ⅜ of an inch. I can use that to make a scribe mark. Then I do the same over here because this also has to go down ⅜ of an inch.
Once we cut that scribe line, we’ll coat it with copper naphthenate, drop these in place, and then we’re ready to put the little mini joists in for our bottom box. Because we’re installing all of these short joists between the stair box header boards, we’re going to need joist hangers, especially in the middle here where it’s unsupported by the footings.
Because we’ll be putting in joist hangers, we want to isolate the metal of the joist hanger from the joist and the header board. So we’re going to wrap joist tape—it’s actually flashing tape—around the end of each joist. We’ll also put a small piece of tape right across the face of the joist header board itself, so when the hanger touches it, it won’t be in contact.
Why Stacked Box Stairs?
There are a couple of additional advantages to doing the stacked box stairs. One is that, as you can see here, we only need footing spaced about 4 feet apart because the rim joist of the box can span the distance between the footings.
We have fewer footings, less concrete, and it’s going to be flatter and more even, unlike the problem we might have with short or tall stringers creating waves in the treads. These stacked boxes are going to be nice and level across the top, just like the surface of the deck.
We’re just about ready to put the top-step box on top of the first-step box. But before we do that, while everything’s clear, I want to put some anchors in to anchor the bottom box down to the footings. This anchor is going to help prevent the box from lifting up, but more importantly, it will keep it from shifting out of position.

So we’ve got the bottom box anchored down to the footings. Now we want to strap the bottom box to the deck frame on the backside. I’m just using some metal strap. I’ve already applied the isolation membrane, so where it contacts the pressure-treated lumber, it’s protected. Then I’ll just nail it on with some metal-connector nails.
The IRT board and the rainscreen project out away from the foundation, so what we ended up doing was notching the framing. We’ll scribe the riser board to go in that hole, so it won’t be visible. Now I’m going to nail the corner together, then I’m going to toenail down the upper box to the lower box. I’ll reach around inside and put the final fasteners between the metal strap and the top box. That should tie everything together.
Corner Support
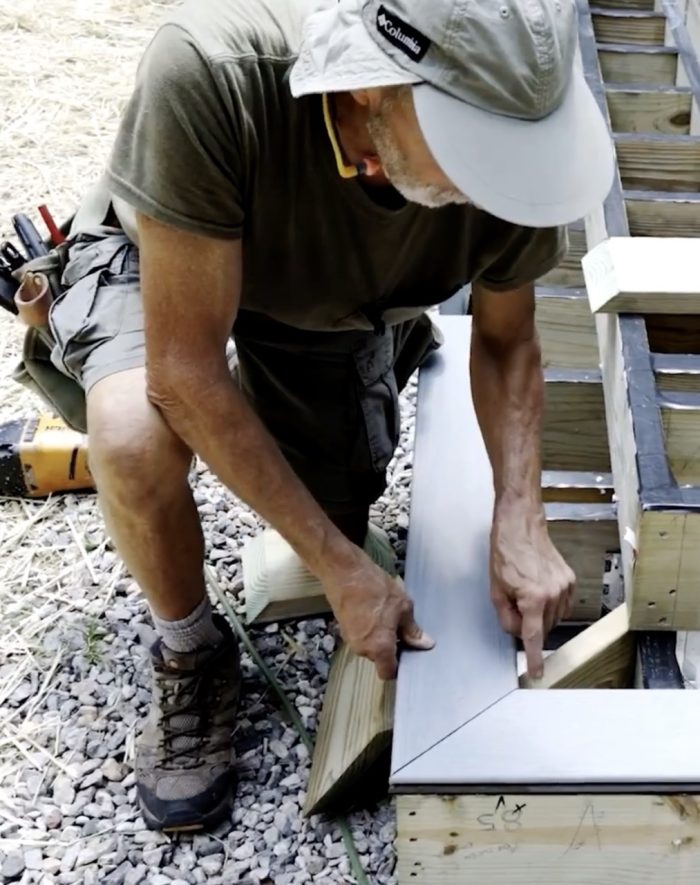
So we’ve got the boxes secured and the tape on top. The last thing we’ve got to do is deal with the corners where the mitered deck boards that form our treads are going to fall because they need support diagonally from the outside corner to the inside corner. One way to do that is to put a single board in, like I have here.
But the Trex® instructions call for all of our miters to be gapped ⅛ of an inch, which is a good thing. It gives the boards a little room to move as they expand and contract due to temperature. If we put the diagonal solid block right in the middle, debris could collect in that gap because it can’t flow through.
So, instead, I’m going to double-block it, slide the corner block back about half an inch, and put a second block in. That way, we’ve got a gap there. When the miter comes together and we leave the gap between the boards, they’re still supported about an inch back from the end at the miter. That will allow the water to flow through, and any leaves or debris that collect in there will flow through as well, preventing moss or mold growth.
RELATED STORIES


